
You’ve probably heard of growing roses from cuttings—but did you know toilet paper can actually boost your success rate? This simple household item can help maintain moisture and encourage root growth, making it a clever and effective twist on a classic gardening technique.
Let’s break down how you can grow thriving rose bushes from cuttings—using nothing more than a few basic tools and a roll of toilet paper!
Step 1: Select Healthy Cuttings
Start by choosing strong, semi-hardwood cuttings from a healthy rose bush. Aim for cuttings that are 15 to 20 cm long—these are mature enough to root well but still flexible. Use sharp, sterilized garden shears to avoid damaging the stems or introducing disease.
Step 2: Strip the Leaves
Next, remove most of the leaves along the stem to help the plant focus its energy on forming roots. If you want to leave one or two leaves at the top, go ahead—but cut them in half to reduce water loss and minimize plant stress.
Step 3: Make the Right Cuts
Trim both ends of the stem cleanly. Be sure the bottom cut is angled at 45 degrees—this exposes more surface area for rooting and improves absorption.
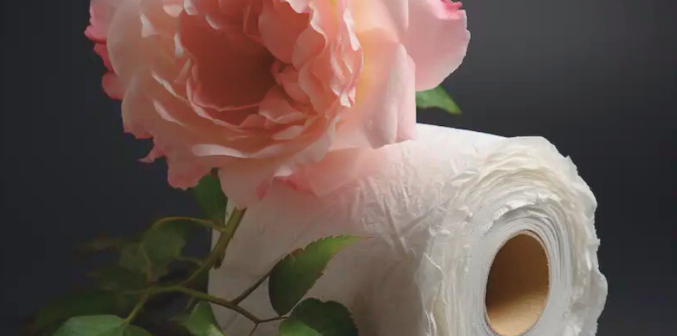
Step 4: Wrap in Toilet Paper
Now comes the magic! Lightly dip the base of each stem in rooting hormone (this step is optional but recommended), then wrap the lower half of the cutting in 3 to 4 layers of toilet paper. Be careful not to wrap too far up the stem—you still want it to breathe.
Step 5: Add Moisture
Spritz the toilet paper with water until it’s thoroughly damp—but not dripping. Gently squeeze out excess water. Be mindful of the thorns while handling the stems.
Step 6: Prepare the Perfect Pot
Grab a medium-sized pot with good drainage holes. Fill it with a mix of garden soil, compost, and coarse sand—a combination that ensures airflow and retains just the right amount of moisture.
Step 7: Plant the Cuttings
Push each cutting into the soil until about half to three-quarters of it is buried, making sure the toilet paper-wrapped section is completely covered. This helps maintain consistent moisture around the base of the cutting.
Step 8: Water and Place Wisely
Water the soil gently but thoroughly. Then, move the pot to a spot with bright, indirect sunlight. Avoid full sun at first—too much heat can dry out the cuttings and slow root growth.
Step 9: Watch for Signs of Life
In 2 to 4 weeks, you should begin to see new leaf growth—a sign that roots are forming! Once the roots are established, your cuttings can be transferred to individual containers or directly into your garden beds.
Why Toilet Paper Works Wonders
This method stands out for one simple reason: toilet paper keeps the base of the stem evenly moist—exactly what young cuttings need to develop healthy roots. It’s a surprisingly effective, low-cost trick that can increase your propagation success.
So the next time you prune your roses, don’t toss those cuttings. Grab some toilet paper, follow these steps, and watch your rose garden flourish—one stem at a time!
