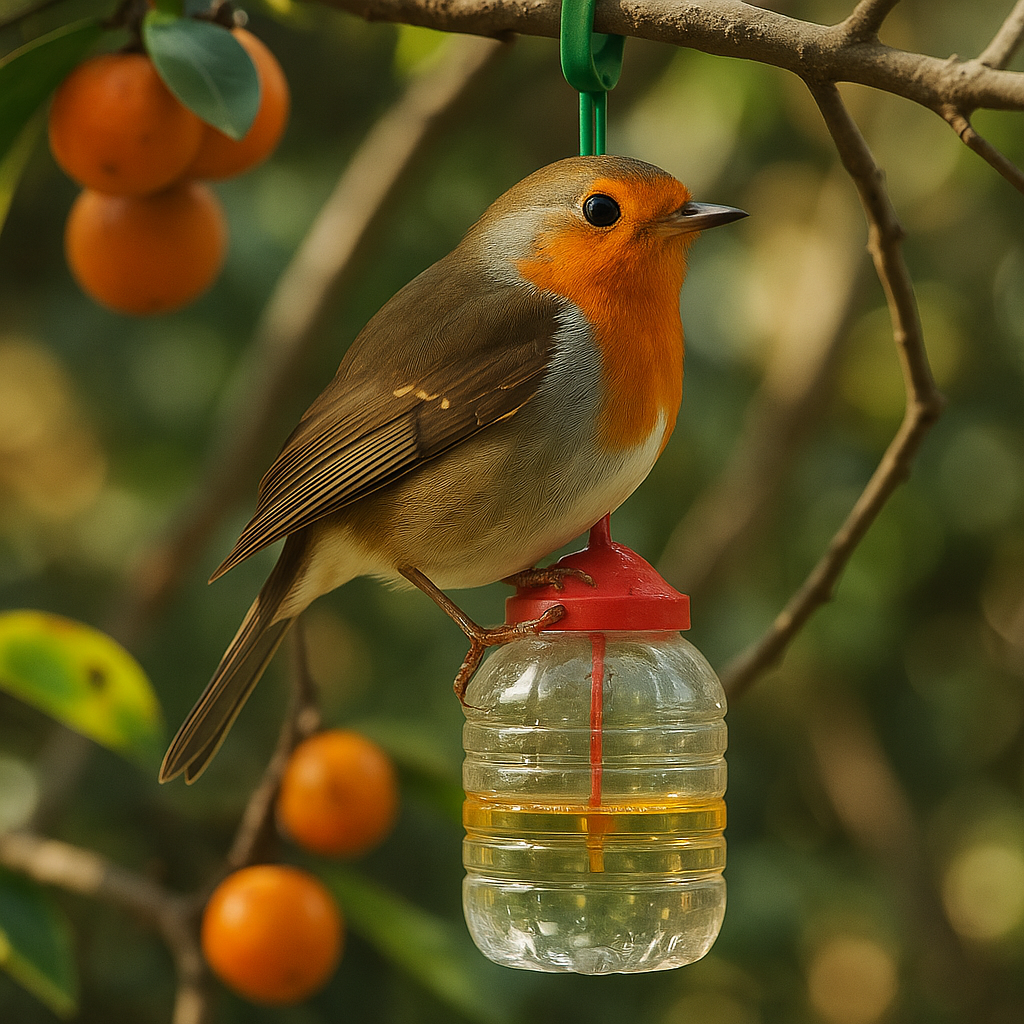
Looking for a simple, eco-friendly way to help your backyard birds stay hydrated? With just a few household items, you can create a homemade bird water feeder that not only keeps your feathered friends happy but also gives new life to an old plastic bottle. This quick project is perfect for warm days when birds need extra access to fresh water—and it’s a fun way to repurpose something you’d normally toss in the recycling bin.
Here’s how to make your own self-refilling bird water feeder at home!
🛠 What You’ll Need:
- 1 plastic bottle (1–2 liters is ideal, but any size works)
- 1 shallow tray with raised edges (the edges should be taller than the bottle cap)
- Super glue or strong waterproof adhesive
- Something sharp to make small holes (like a heated needle, thumbtack, or mini drill)
Step 1: Glue the Bottle Cap to the Tray
Start by taking the cap off your plastic bottle. Dry it off completely if it’s wet.
- Apply a good amount of glue around the rim of the cap.
- Stick the cap upside down (threads facing up) to the center of the tray.
- Press down firmly and let it dry completely. Follow the glue’s instructions for drying time to make sure it sticks really well.
💡 Tip: Make sure it’s centered so the bottle stays balanced when it’s flipped over.
Step 2: Make the Water Flow Holes
Next, you’ll need to create the “automatic refill” system.
- With the cap still off, drill or poke two small holes in the neck of the bottle.
- One hole should be about 1/4 inch above the cap when it’s screwed on.
- The second hole goes slightly higher—about 1/2 inch above the first one.
These holes are key—they help control how and when the water flows into the tray.
Step 3: Fill and Flip
Now that your bottle is ready:
- Fill it up with clean water.
- Screw the cap (now glued to the tray) tightly back onto the bottle.
- Carefully flip the bottle upside down and set it back into the tray.
Water will begin to trickle into the tray through the lower hole and will stop flowing once the water level reaches the height of the second (upper) hole. It’s a simple, automatic setup that only dispenses more water when the level drops.
Step 4: Choose the Perfect Spot
Place your homemade water feeder in a shady, quiet part of your garden—this helps keep the water from heating up or evaporating too quickly, and birds will feel safer stopping by.
💧 Maintenance Tips:
- Clean it regularly to prevent bacteria and algae buildup. A quick rinse every few days will do wonders.
- Check water levels daily, especially on hot or dry days.
- Smooth any sharp edges around the drilled holes to protect birds from getting hurt.
Why It Works
This design is based on a simple air pressure trick. When the water in the tray reaches the height of the second hole, the airflow stops, and so does the water—until the birds drink and lower the level again. It’s a low-tech, super effective solution to keep your bird visitors hydrated without constant refilling.
Making your own bird water feeder is not just easy and inexpensive—it’s a great way to upcycle, reduce waste, and enjoy more bird activity in your backyard. Whether you’re a seasoned birdwatcher or just getting started, this DIY project adds a lovely touch to any garden.
Happy building—and even happier bird watching!

