
Growing your own potatoes is easier than you might think—and incredibly rewarding. One simple trick that can make a huge difference in your harvest? Cutting your seed potatoes before planting. This tried-and-true method, often called “seed potato preparation,” sets your crop up for success by improving growth and boosting yield.
Let’s dive into how this works and how to do it right.
Why Cut Potatoes Before Planting?
Cutting seed potatoes isn’t just about saving space—it serves several important purposes:
- Bigger Harvests: Each potato chunk with at least one “eye” (a growth bud) can become a new plant. That means more plants—and more potatoes—from each seed potato.
- Disease Protection: Cutting potatoes ahead of time allows the exposed surfaces to dry and form a protective callous, reducing the risk of rot and disease when they’re planted.
- Better Size Control: By slicing large seed potatoes into smaller pieces, you encourage more uniform growth and a consistent harvest.
Step 1: Start with the Right Potatoes
- Use certified seed potatoes from a reputable source. These are less likely to carry diseases.
- Pick varieties that thrive in your region and soil conditions.
Step 2: How to Cut Potatoes for Planting
- Cut your seed potatoes 1–2 days before planting.
- Use a clean, sharp knife to make clean cuts and avoid bruising.
- Each piece should be about the size of a golf ball and contain at least one or two eyes.
📝 Tip: Smaller potatoes (egg-sized or less) can be planted whole—no need to cut them.
Step 3: Let Them Cure
After cutting:
- Lay the pieces out in a cool, dry spot, out of direct sunlight.
- Allow them to callous over for a day or two. This helps seal the cut and protect the potato from moisture and disease in the soil.
Step 4: Prepare the Soil
- Choose a sunny, well-drained location.
- Enrich your soil with compost or aged manure to give the potatoes a nutrient-rich start.
Step 5: Time to Plant
- Plant the potato pieces cut-side down, eyes facing up, about 2–3 inches deep.
- Space them 12 inches apart in rows, with 2–3 feet between rows.
Step 6: Tend with Care
- Water regularly, keeping the soil moist but not soggy.
- As the plants grow, mound soil around the base (a process called hilling) to protect developing tubers and prevent them from turning green from sun exposure.
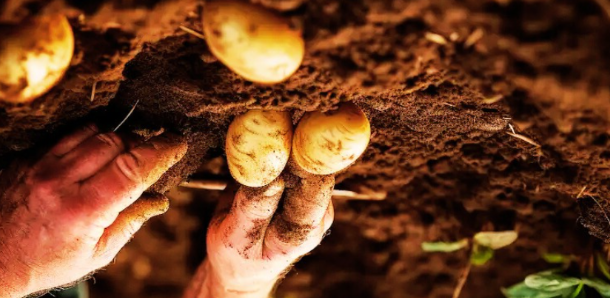
Step 7: Harvesting Your Potatoes
- When the leaves and stems begin to wither and die back, it’s harvest time!
- Use a garden fork or your hands to gently dig around the plant and collect your homegrown potatoes.
Final Thoughts
Cutting seed potatoes before planting is a smart, time-tested method that can lead to healthier plants and bigger yields. When done correctly, it helps prevent disease, promotes more vigorous growth, and allows you to make the most of every seed potato.
Keep in mind: not all varieties behave the same, so always check the growing recommendations for your chosen type. Also, practicing crop rotation and keeping your garden clean between seasons will go a long way in maintaining a productive potato patch year after year.
So, grab those seed potatoes and a sharp knife—your next great harvest is just a few cuts away!
